


Introduction
In the previous post, Implementing Over-the-Air Device Firmware Update for nRF52 - Part 2, we introduced the OTA DFU process on the nRF52.
In this post, we'll go over testing the process using one of the DFU examples included in the nRF5 SDK, the "Bluetooth LE Secure DFU Bootloader" example..
The hardware requirements for running the Bluetooth LE Secure DFU Bootloader example are:
- A development PC (Windows, Linux, or macOS) – for building the bootloader and application, and generating cryptographic keys.
- An nRF52832 or nRF52840 development kit – used as the DFU target (Note: In all the steps below, we’ll be using an nRF52840 DK).
- A mobile phone (iOS or Android) – used as the DFU controller (alternatively, you could use a second nRF52 DK along with your development PC and use nRF Connect for Desktop).
The software requirements are:
- nRF5 SDK version 15.3.0
- Segger Embedded Studio (SES)
- Python (and pip) – check out the following articles for installation instructions:
- GNU ARM Embedded Toolchain
- Download from the official website here
- Set your system’s path to include the
<GNU ARM Tolchain>/binfolder – mostly needed for Linux and macOS. Windows will do this automatically during the installation of the toolchain. - Edit nRF5 SDK’s Makefile.posix file to point to the correct location of the GNU ARM Toolchain and indicate the correct version (you can find out the version by running
arm-none-eabi-gcc –version). The Makefile.posix file is located at<nRF5 SDK Folder>/components/toolchain/gcc/Makefile.posix.
- nRF Connect for Mobile (iOS, or Android) or nRF Connect for Desktop if you’re using a PC as the DFU controller.
- nRF Command Line Tools – download the appropriate version for your operating system and install the two packages included (JLink installer & nRF Command Line Tools installer).
- Git
- Set up the micro-ecc library:
- Clone the GitHub repo. You can simply run the following command in your terminal or command prompt:
git clone https://github.com/kmackay/micro-ecc.git - Make sure to clone it in the folder: <nRF5 SDK Folder>/external/micro-ecc/micro-ecc
- Navigate to the folder <nRF5 SDK Folder>/external/micro-ecc/nrf52hf_armgcc/armgcc/
- Note: the *hf* in the folder name above is used for chipsets that have an FPU (floating-point unit). If your target chipset does not include an FPU, then use the folder with *nf* in the name.
- Build the library by running
make - The output file will be linked when building the Secure Bootloader
- Clone the GitHub repo. You can simply run the following command in your terminal or command prompt:
Once you’ve got all the hardware and software installed, you’re ready to move on to the next step.
Testing Out OTA DFU on nRF52
Here are the general steps needed to add and perform Secure OTA DFU over Bluetooth LE for your nRF52 project. In our specific case, we'll be testing the BLE Secure DFU Bootloader example.
1 – Generate Private-Public Key Pair
- Navigate to a folder of your choice for storing the private-public key pair files.
- Run the commands:
nrfutil keys generate private.key
nrfutil keys display --key pk --format code private.key --out_file public_key.c
These commands will create private-public key pair files. For example:
private.key
-----BEGIN EC PRIVATE KEY-----
MHcCAQEEIJ1fndsl3rf22bc7caRjj4bjm2jc0GZYT4TZqDJvbrIloAoGCCqGSM49
AwEHoUQDQgAE4qdJSqLzn7x9PbwEO5oqkTnRokObRdZyZveQKgUd3GvS0BuJyDU+
Zy1vtGLrn3CaSsPGiJsuwzWmR/pBMQqg/g==
-----END EC PRIVATE KEY-----
public_key.c
/* This file was automatically generated by nrfutil on 2019-11-22 (YY-MM-DD) at 14:51:03 */

#include "stdint.h"
#include "compiler_abstraction.h"

/** @brief Public key used to verify DFU images */
__ALIGN(4) const uint8_t pk[64] =
{
    0x6b, 0xdc, 0x1d, 0x05, 0x2a, 0x90, 0xf7, 0x66, 0x72, 0xd6, 0x45, 0x9b, 0x43, 0xa2, 0xd1, 0x39, 0x91, 0x2a, 0x9a, 0x3b, 0x04, 0xbc, 0x3d, 0x7d, 0xbc, 0x9f, 0xf3, 0xa2, 0x4a, 0x49, 0xa7, 0xe2,
    0xfe, 0xa0, 0x0a, 0x31, 0x41, 0xfa, 0x47, 0xa6, 0x35, 0xc3, 0x2e, 0x9b, 0x88, 0xc6, 0xc3, 0x4a, 0x9a, 0x70, 0x9f, 0xeb, 0x62, 0xb4, 0x6f, 0x2d, 0x67, 0x3e, 0x35, 0xc8, 0x89, 0x1b, 0xd0, 0xd2
};
2 – Replace the Placeholder Public Key File
- Open the example located at
<nRF5 SDK Folder>/examples/dfu/secure_bootloader/pca10056_ble/ses/secure_bootloader_ble_s140_pca10056.emProject - Replace the file dfu_public_key.c with the one generated in step #1, or simply copy/paste the contents of public_key.c into dfu_public_key.c
3 – Build the Bluetooth LE Secure DFU Bootloader
Build the Bluetooth LE Secure DFU Bootloader example project (using Segger Embedded Studio).
4 – Flash the Bootloader and the SoftDevice to the nRF52 DK
- Load both the Bootloader and the SoftDevice using SES.
- Choose the top menu “Target” ==> “Connect J-Link”.
- Once connected, choose the top menu “Target” again ==> “Erase All”.
- When that’s finished, we can now load the Bootloader and SoftDevice. Choose “Target” ==> “Download secure_bootloader_ble_s140_pca10056”.
5 – Verify that Bluetooth LE Secure Bootloader is running
- After loading the images in the previous step, verify that both LED 1 and LED 2 are on.
- Next, open up nRF Connect on Mobile (or Desktop ==> Bluetooth app) and verify that the device is advertising with the name “DfuTarg”:
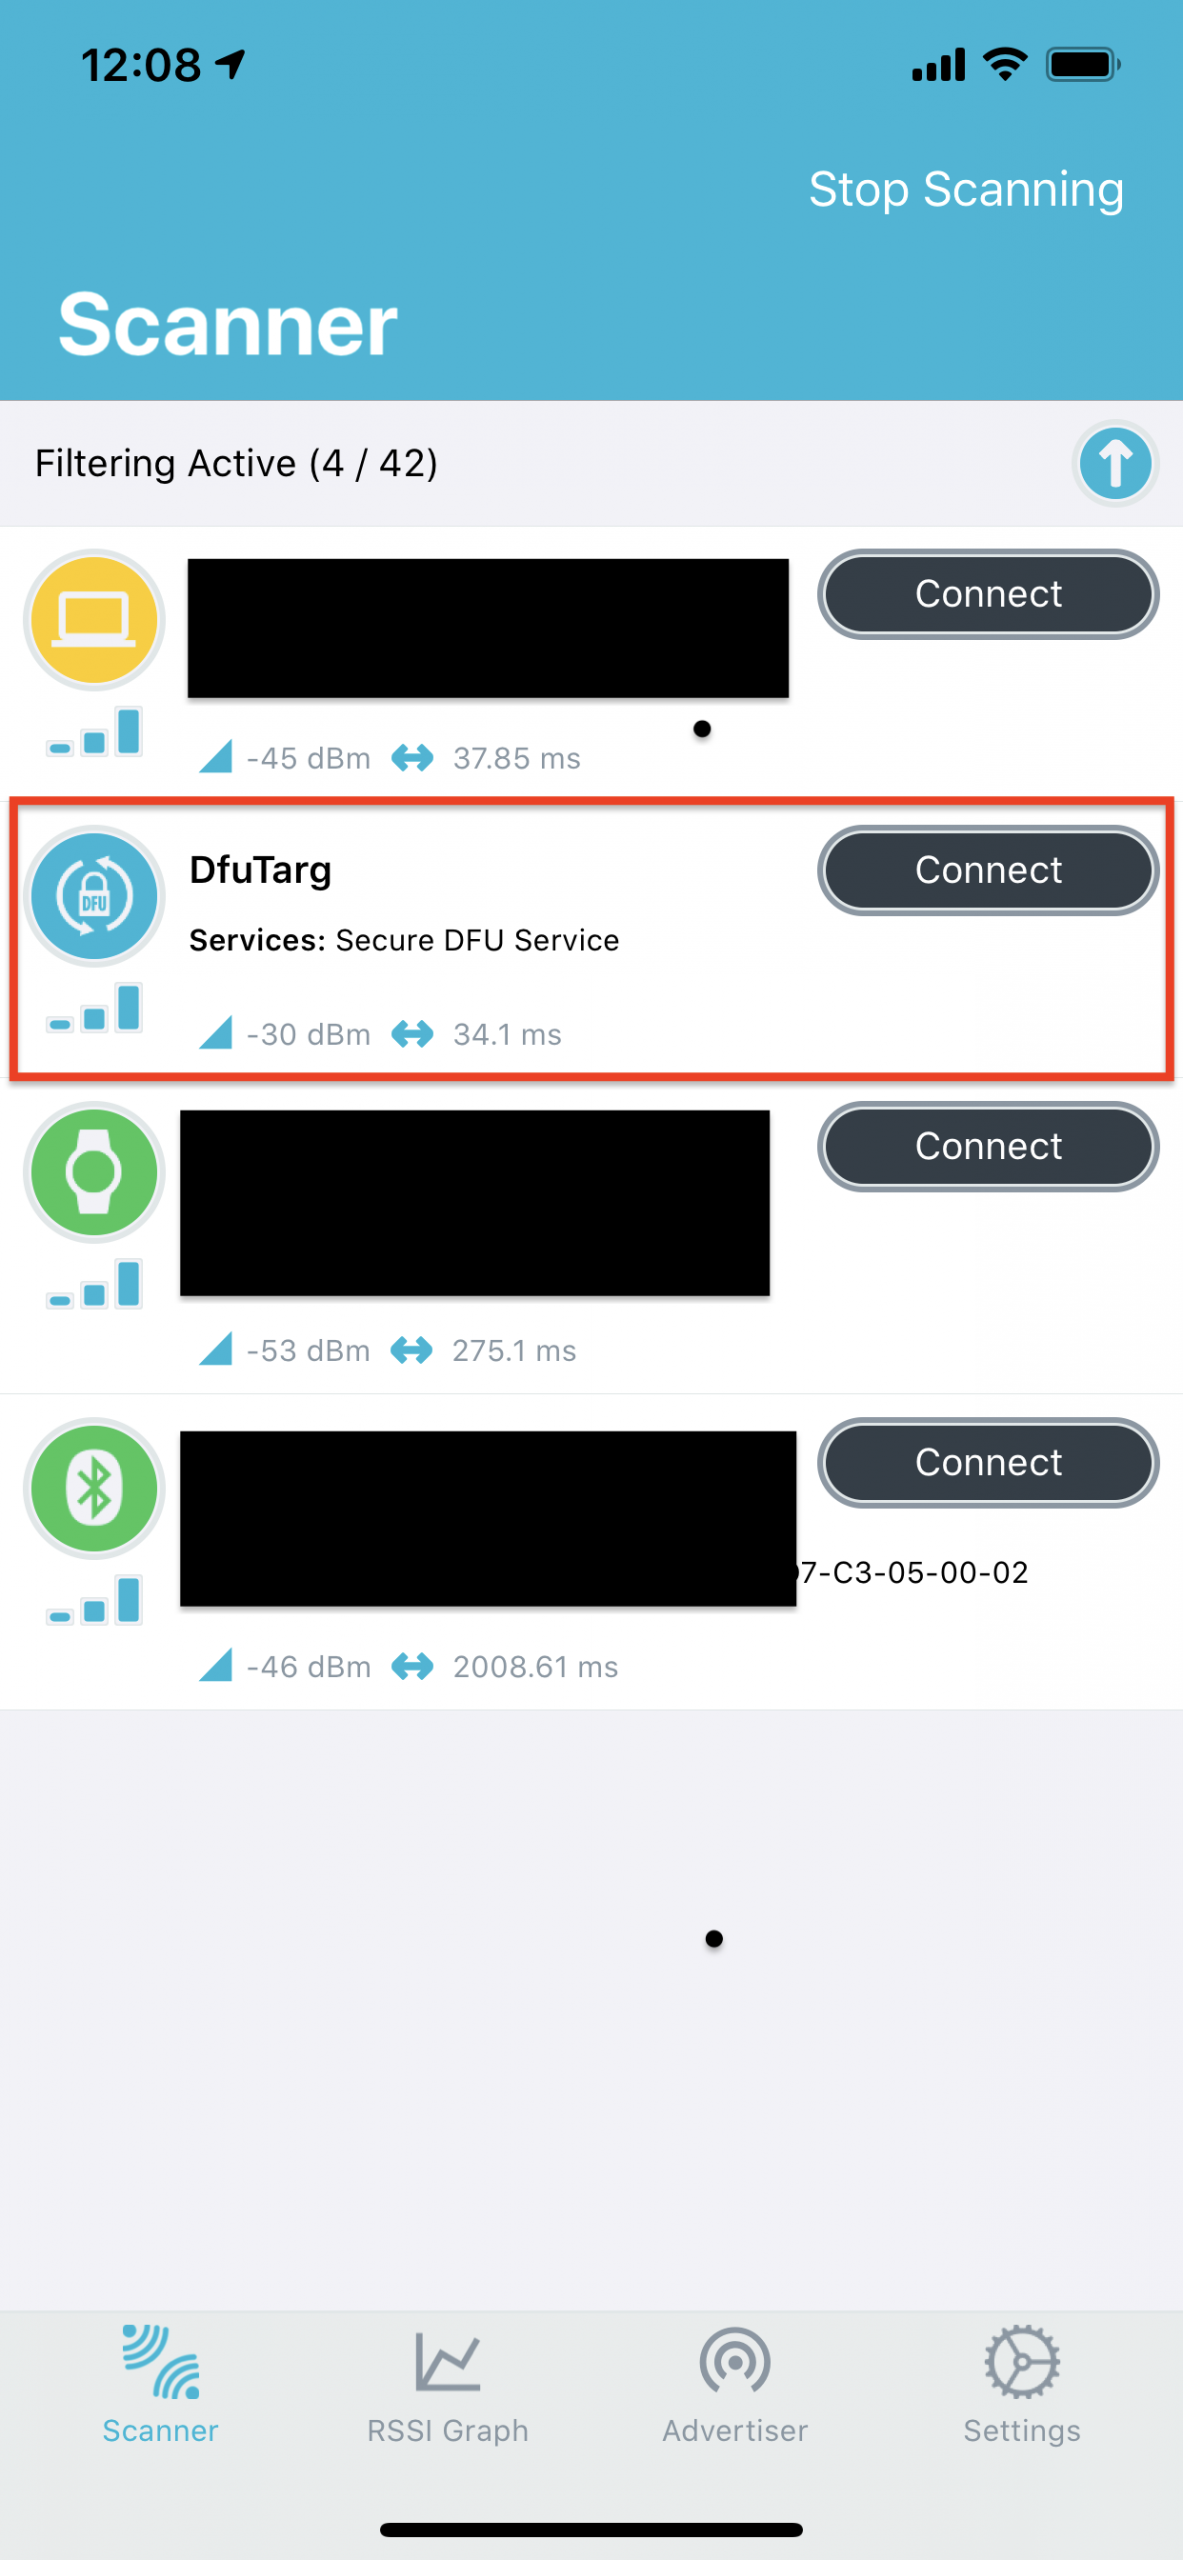
- This indicates that the Bluetooth LE Secure DFU Bootloader is running correctly and ready to accept a new DFU package.
6 – Building the nRF52 Application
- Next, we’ll build our nRF52 application in SES.
- This is the application that we want to include in the DFU package.
- Once you build it, locate the output .hex file.
7 – Generating the DFU Package
- To generate the DFU package .zip file, we need to use the
nrfutilcommand-line tool. - The command takes in the private key generated from step #1 and the .hex file from step #6.
- In this example, we’ll be including the application only (no Bootloader or SoftDevice).
- Copy the .hex file from step #6 (.hex file of the application) to the same location as the private key from step #1.
- Now, run the following command:
nrfutil pkg generate --hw-version 52 --application-version 1 --application ble_app_blinky_pca10056_s140.hex --sd-req 0xB6 --sd-id 0xB6 --key-file private.key app_dfu_package.zip- Let’s look at each of the arguments passed into the command:
pkg: Display or generate a DFU package (zip file).generate: Generate a zip file for performing DFU.--hw-version 52: The hardware version.--application-version 1: The assigned application version.--application ble_app_blinky_pca10056_s140.hex: The application hex file to be included in the DFU package.--sd-req 0xB6: The SoftDevice firmware ID(s) required for the update to be processed, of which one must be present on the target device. Below is the list of SoftDevice firmware IDs supported by version 5.2.0 of the nrfutil command-line tool. We are using SoftDevice s140 version 6.1.1 which matches ID value: 0xB6.--sd-id 0xB6: The new SoftDevice ID to be used as –sd-req for the Application update in case the ZIP contains a SoftDevice and an Application.--key-file private.key: The private (signing) key in PEM format.app_dfu_package.zip: Name of the output ZIP file (the DFU package).
8 – Discover and Connect to the DFU Target
- Use nRF Connect for Mobile (or nRF Connect for Desktop Bluetooth App with a second nRF52 DK connected to the PC) and look for the “DfuTarg” advertisement.
- You’ll need to make sure the package you created in step #7 is accessible on the mobile phone you’re using (if you’re using nRF Connect for Mobile).
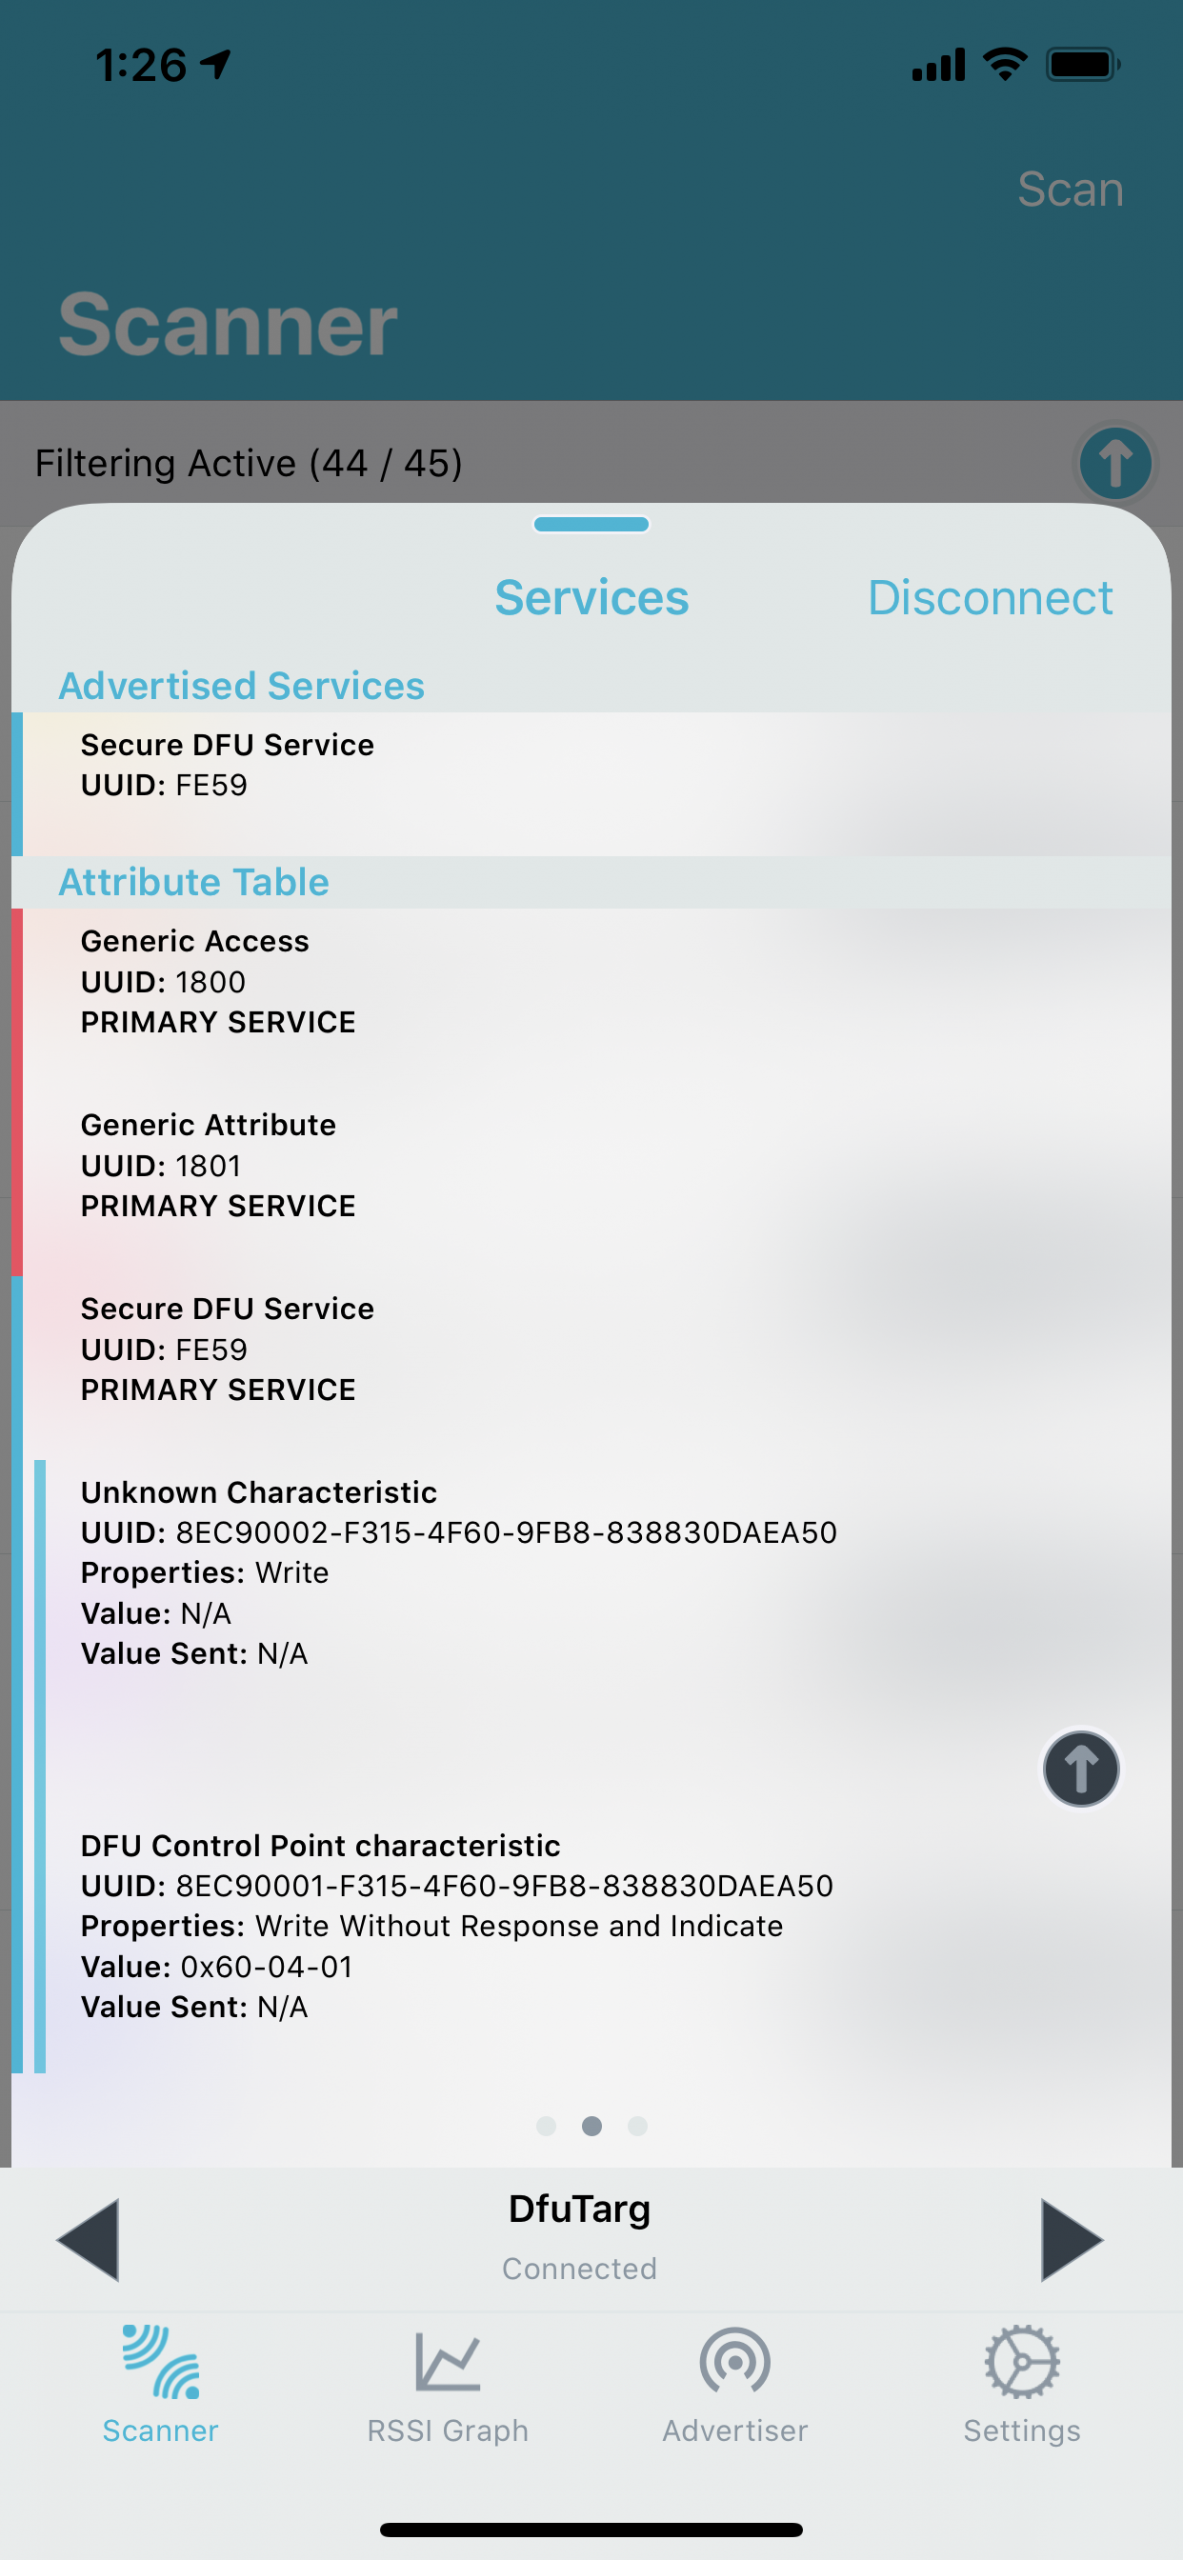
- Now, connect to the DFU target:
9 – Start the DFU Process
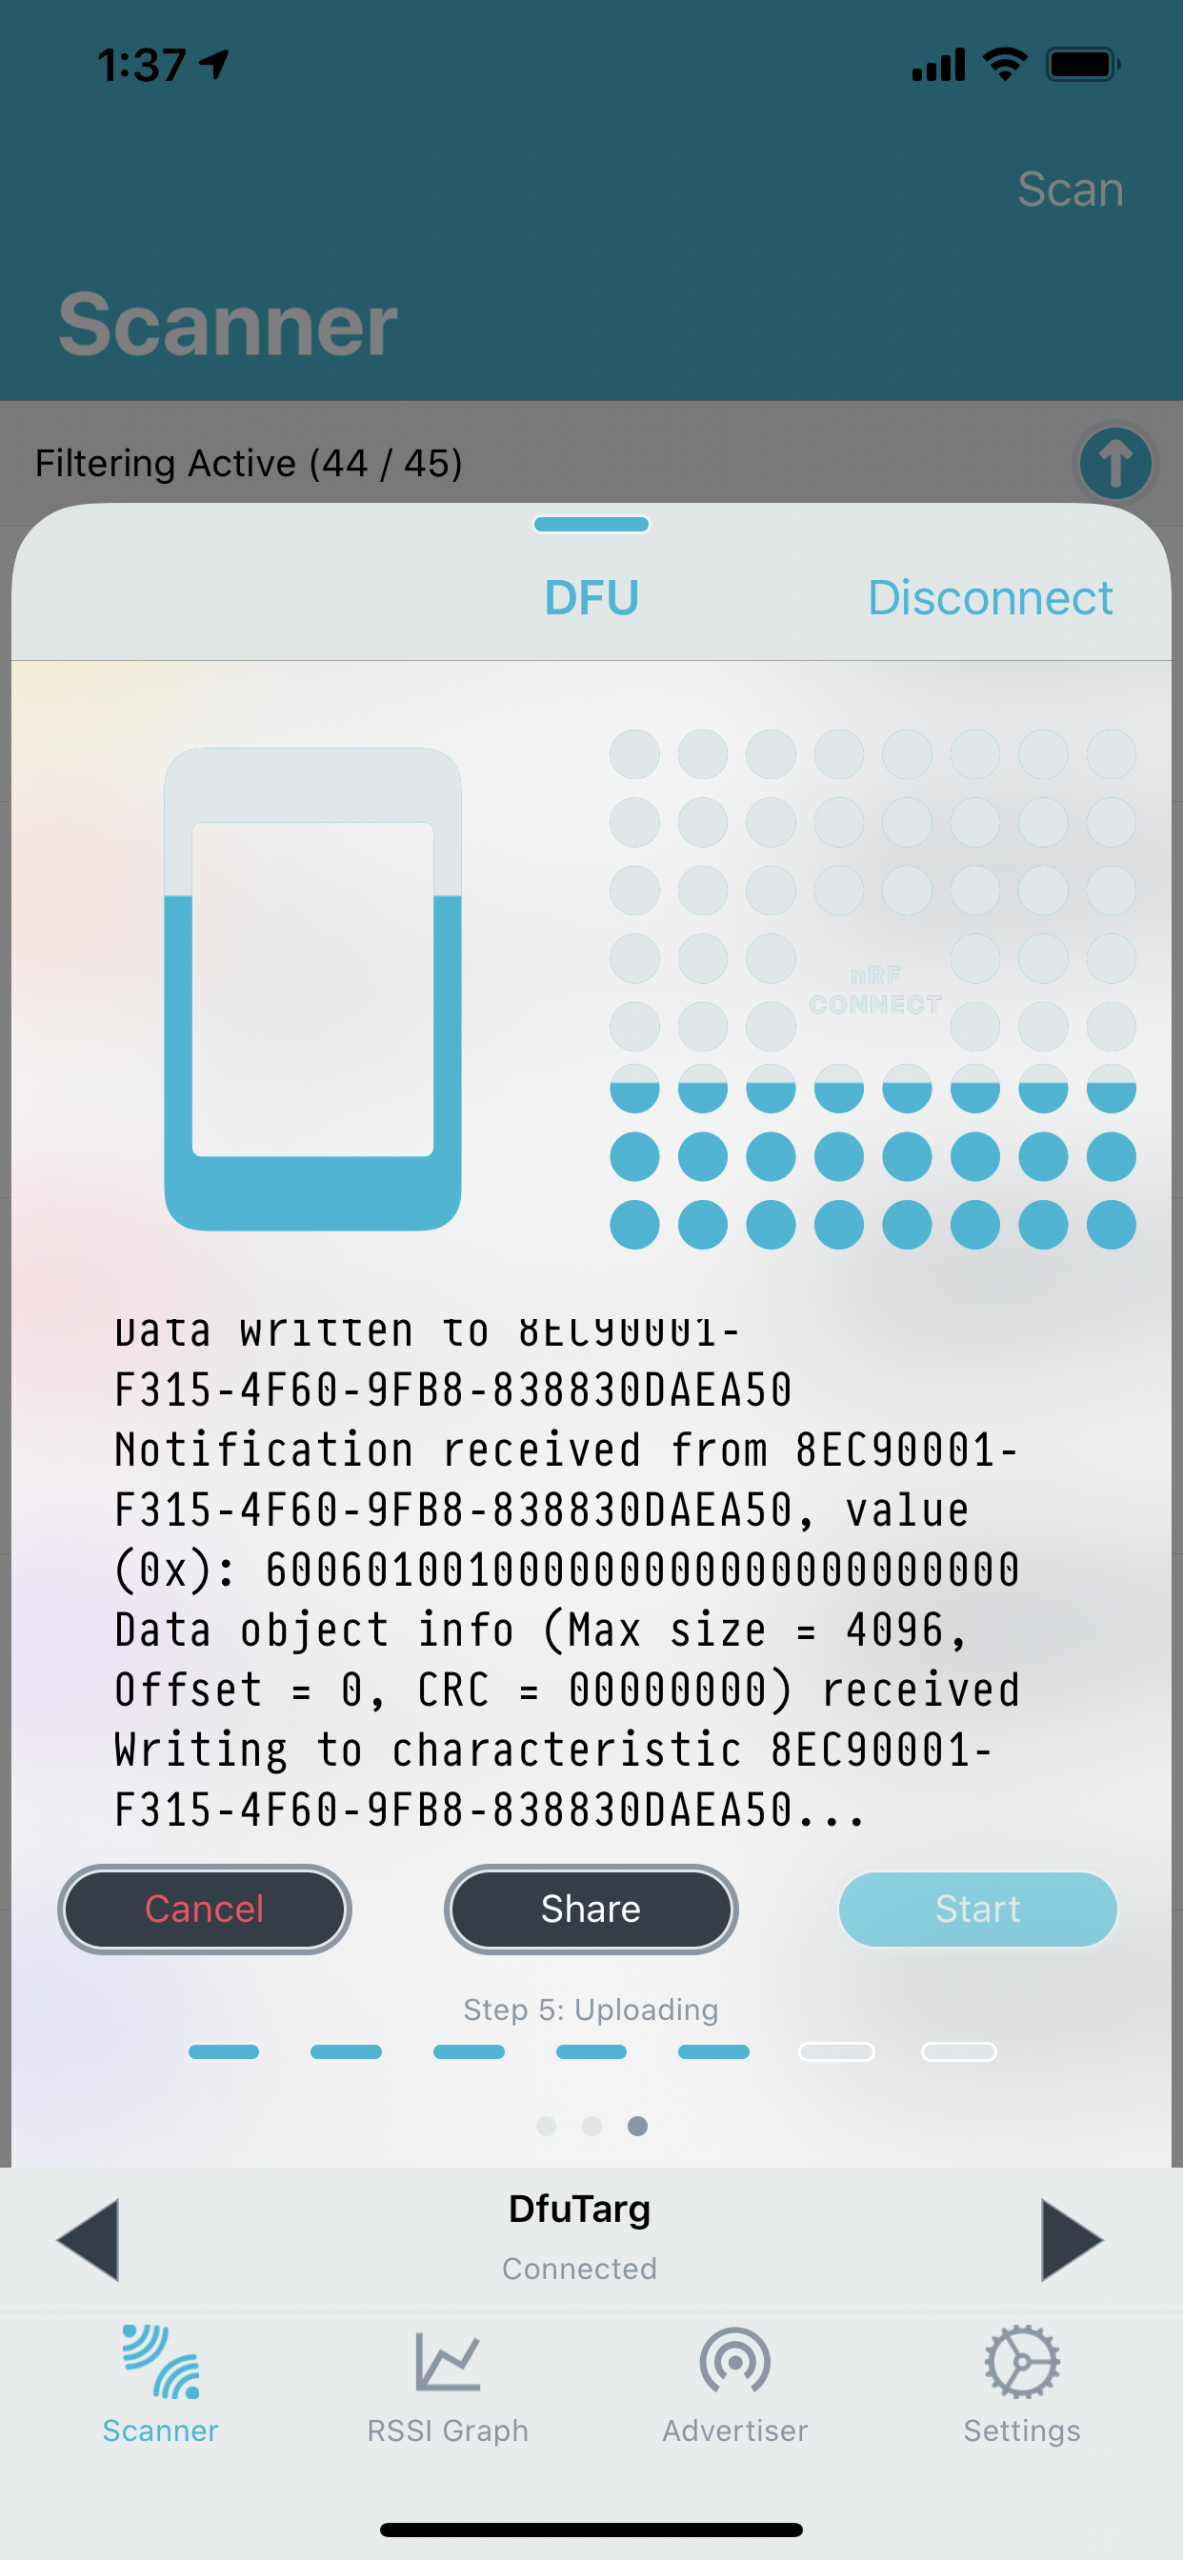
- After you’ve connected to the DFU target in nRF Connect on Mobile, swipe to the left twice to navigate to the DFU screen. Then click “Open Document Picker”:
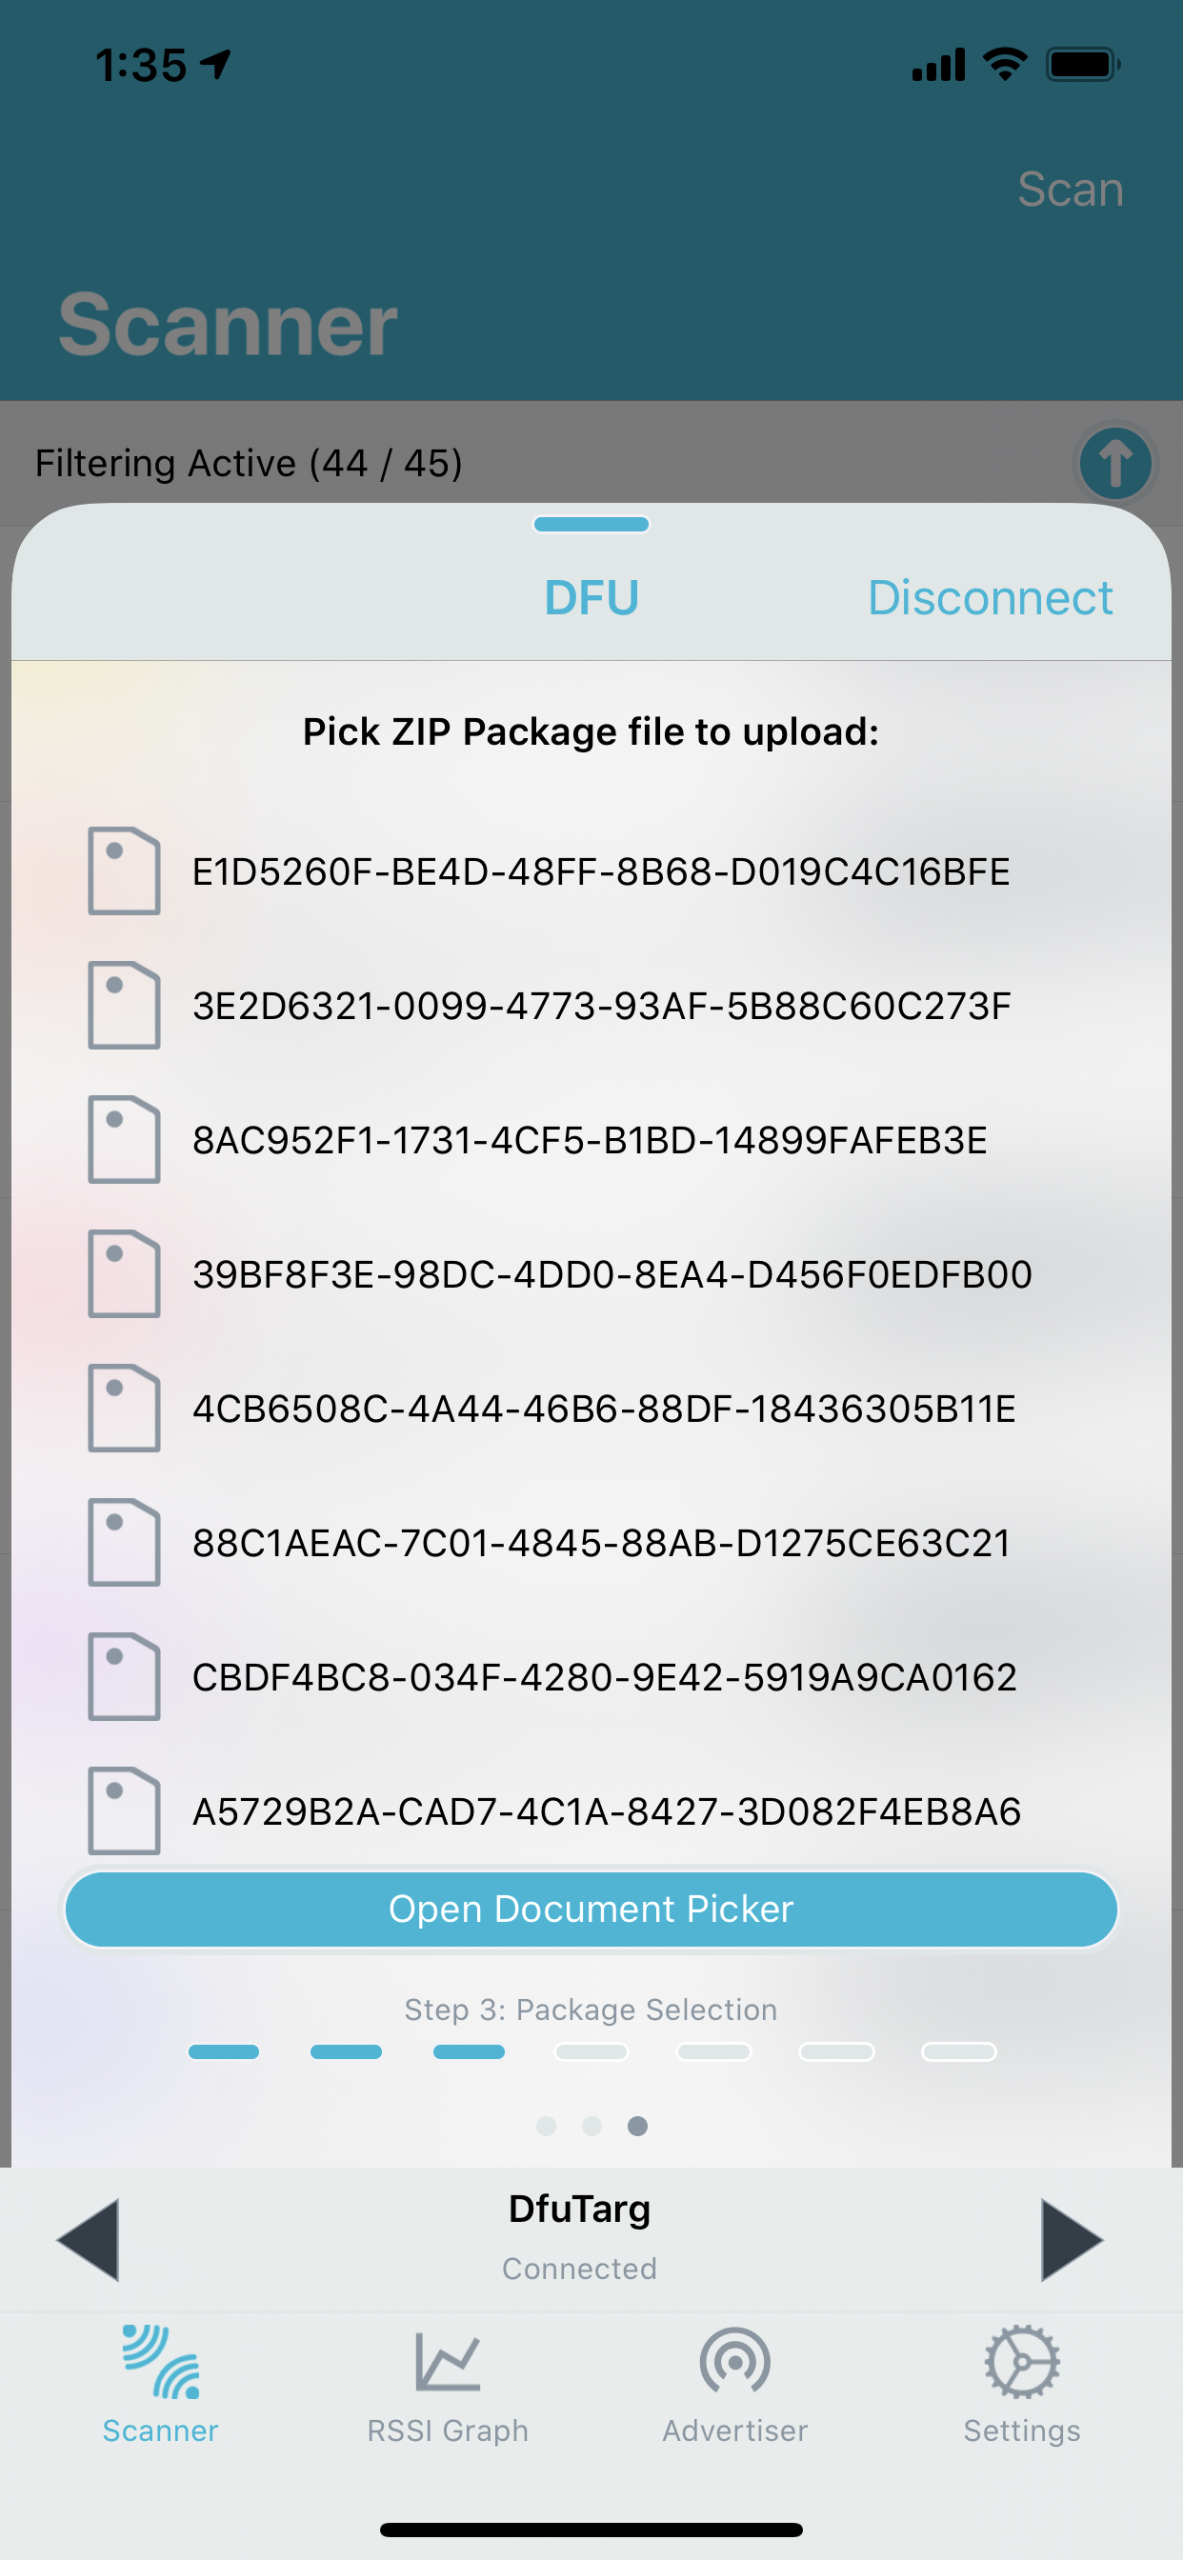
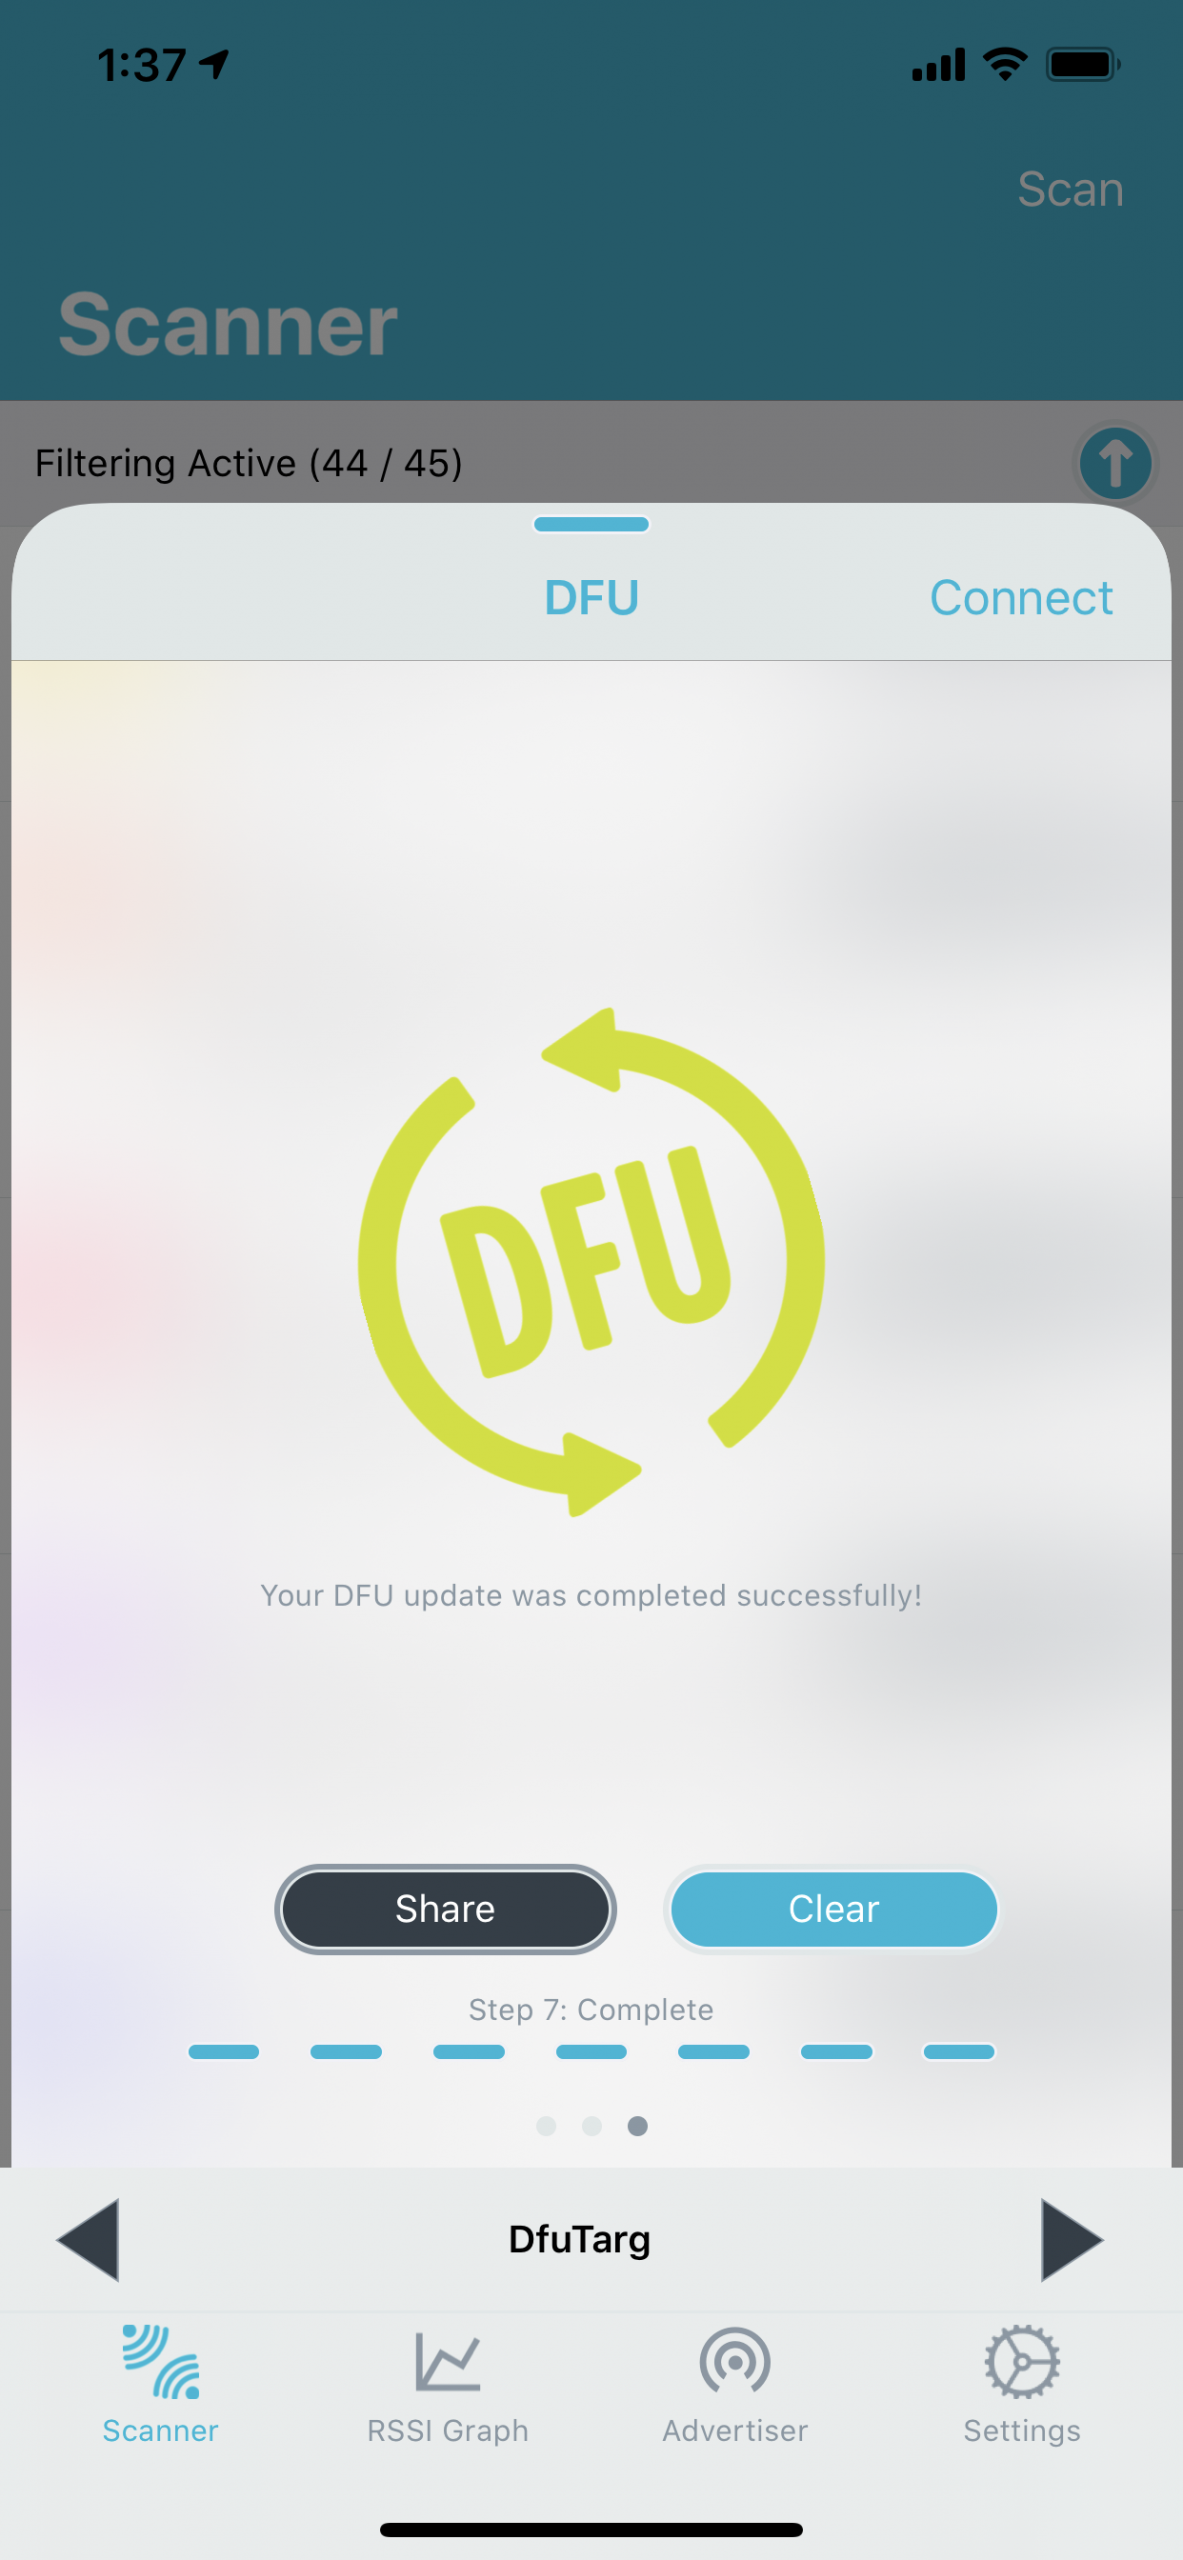
- Choose the .zip file (from step #7) and start the DFU process.
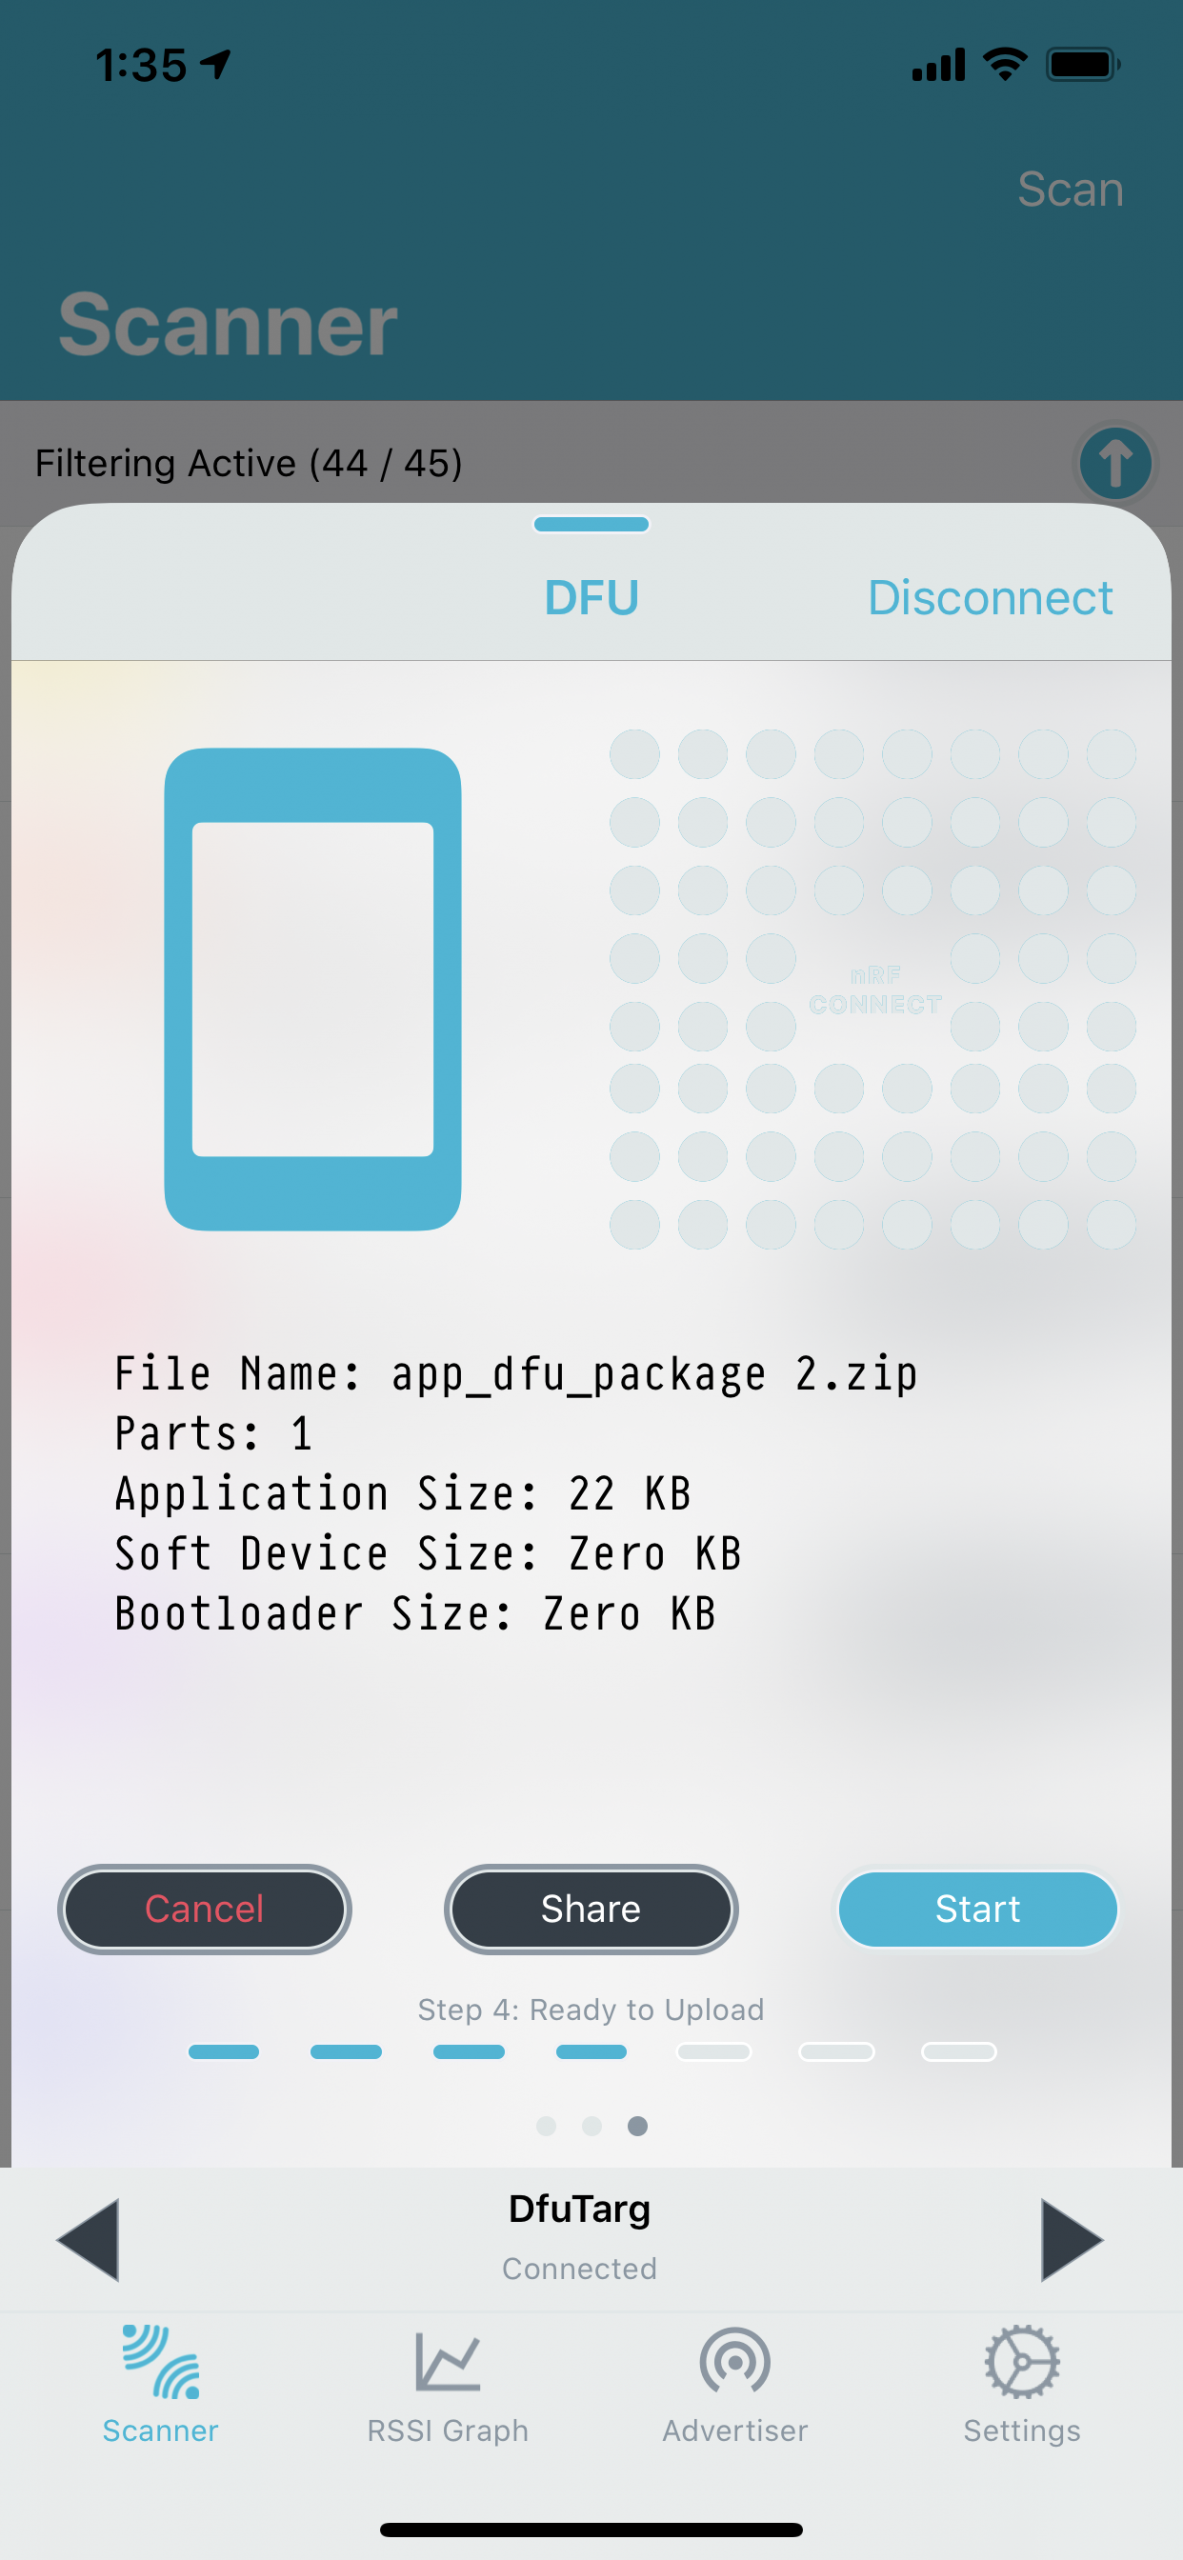
- Click the “Start” button:
10 – New Firmware Application
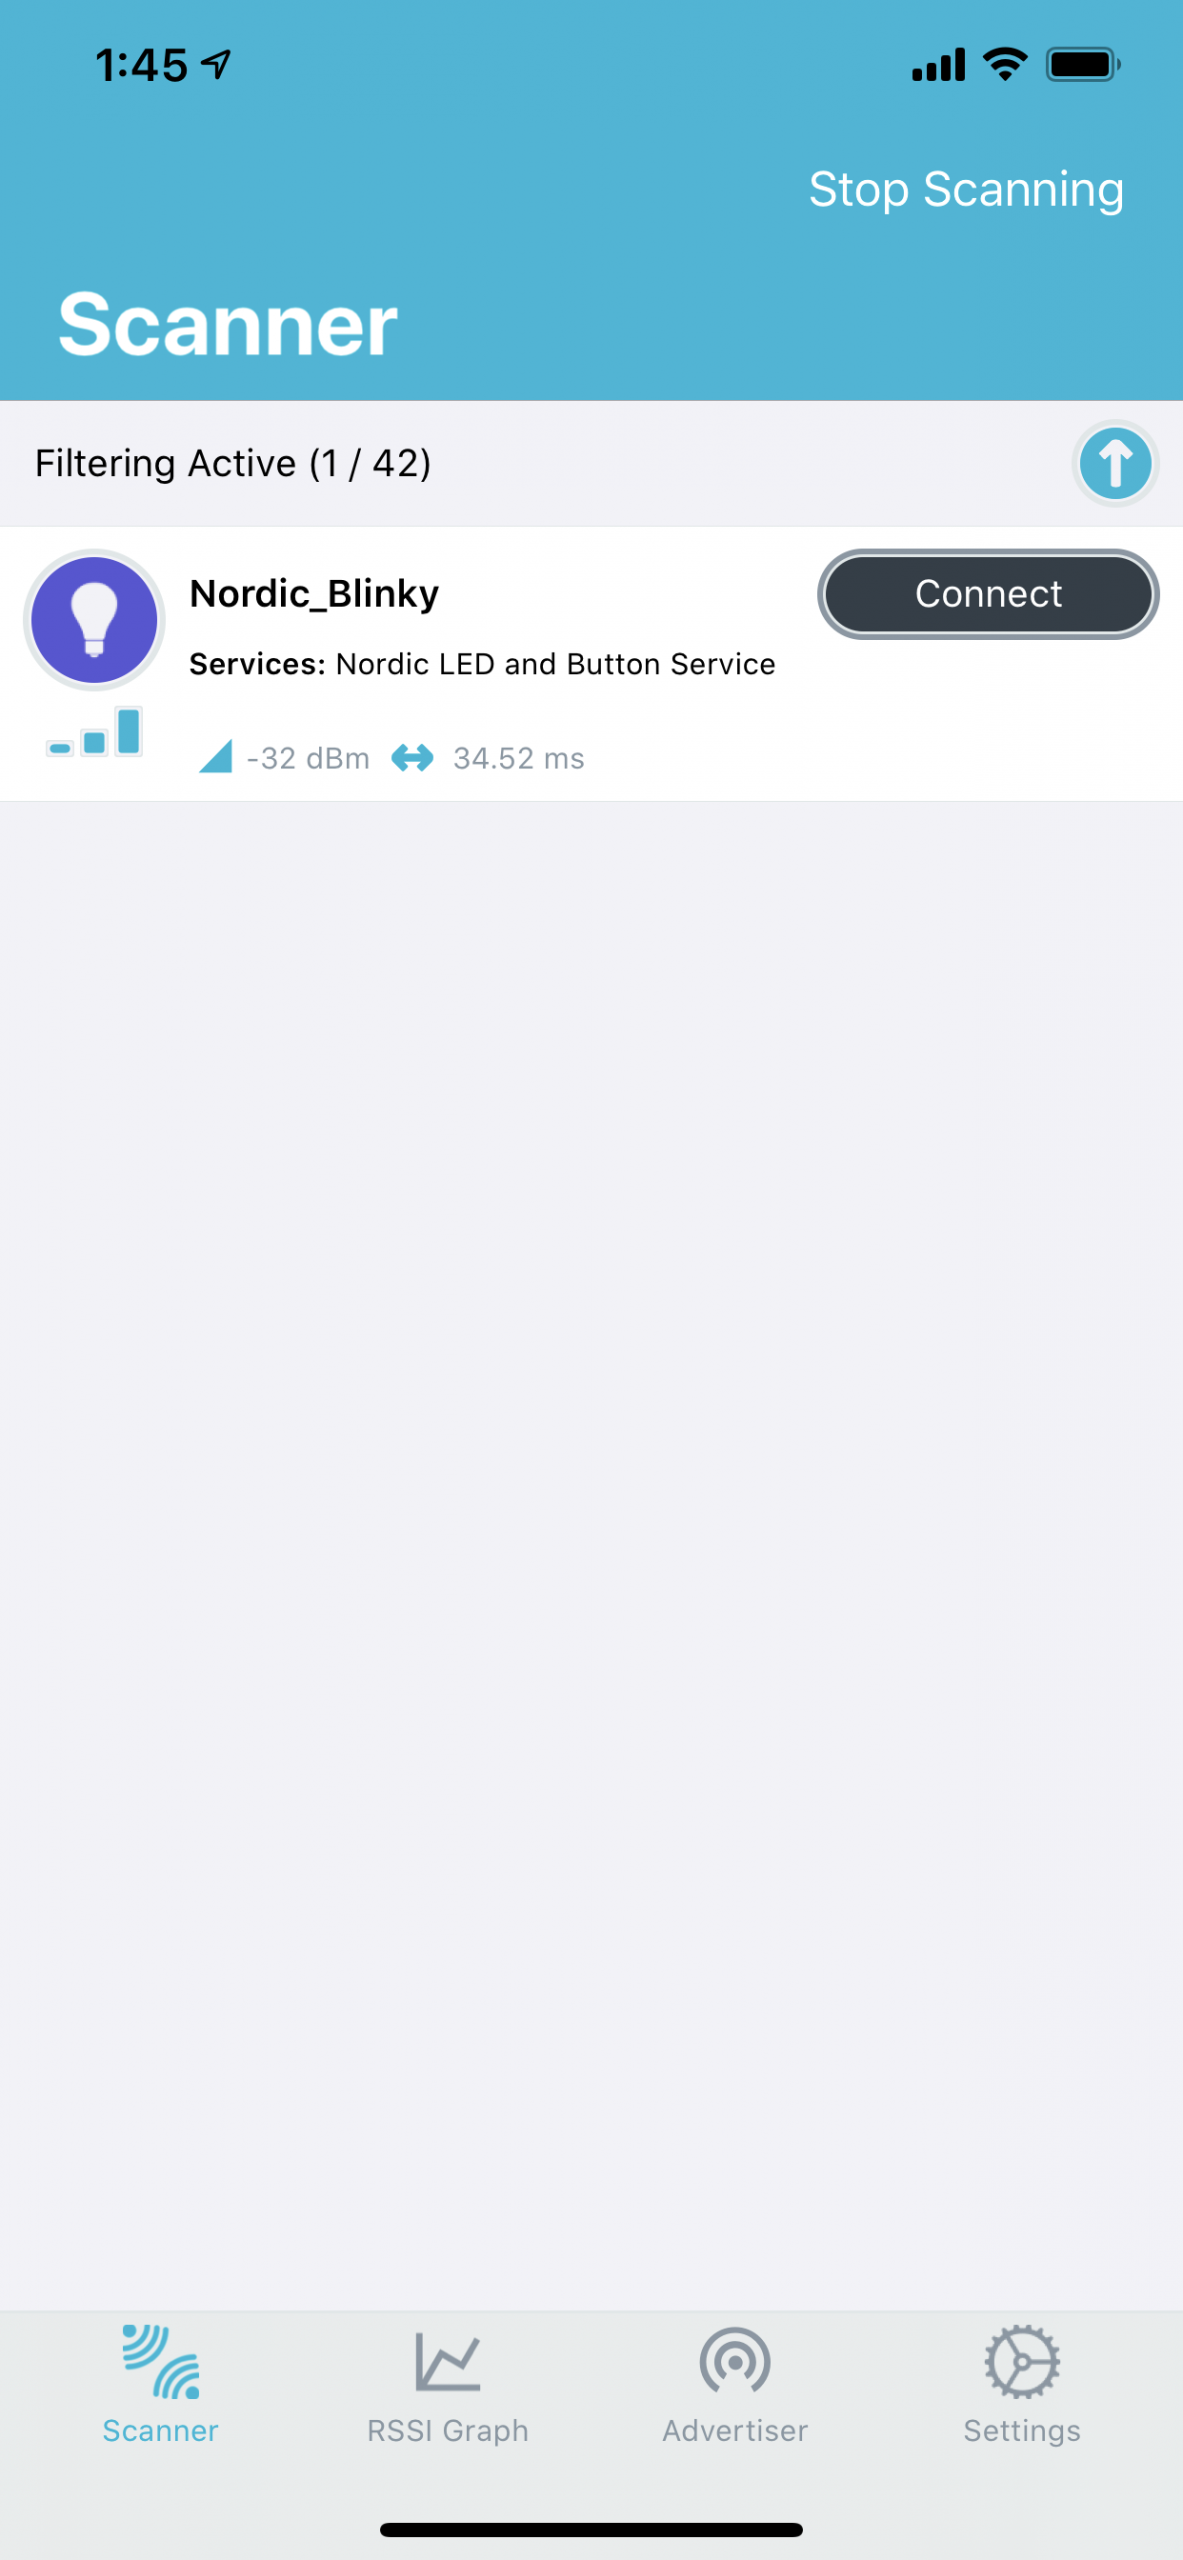
Once the DFU process is complete, you should see that your new application (that was part of the DFU package) is now running on the DFU Target development kit.
In this example, I used the ble_app_blinky peripheral application:
Next Steps: Buttonless DFU for your Nordic nRF52 project
If you want to take this further and implement Buttonless DFU in your own nRF52 project, I cover it end to end in a full course inside the Bluetooth Developer Academy.
Summary & Closing
In this post, we went over:
- Hardware Requirements
- Software Requirements
- The different tools needed to build a DFU image
- Steps for building and testing out the DFU example


